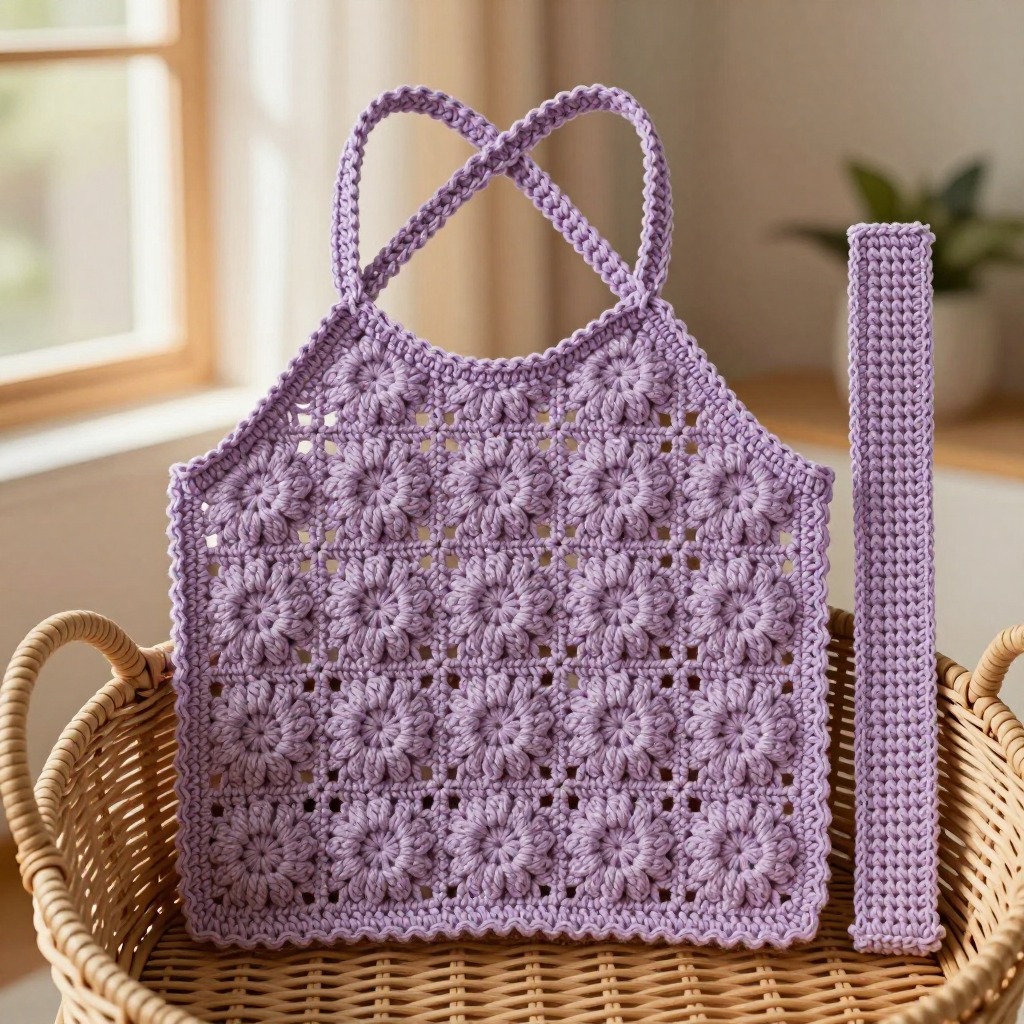
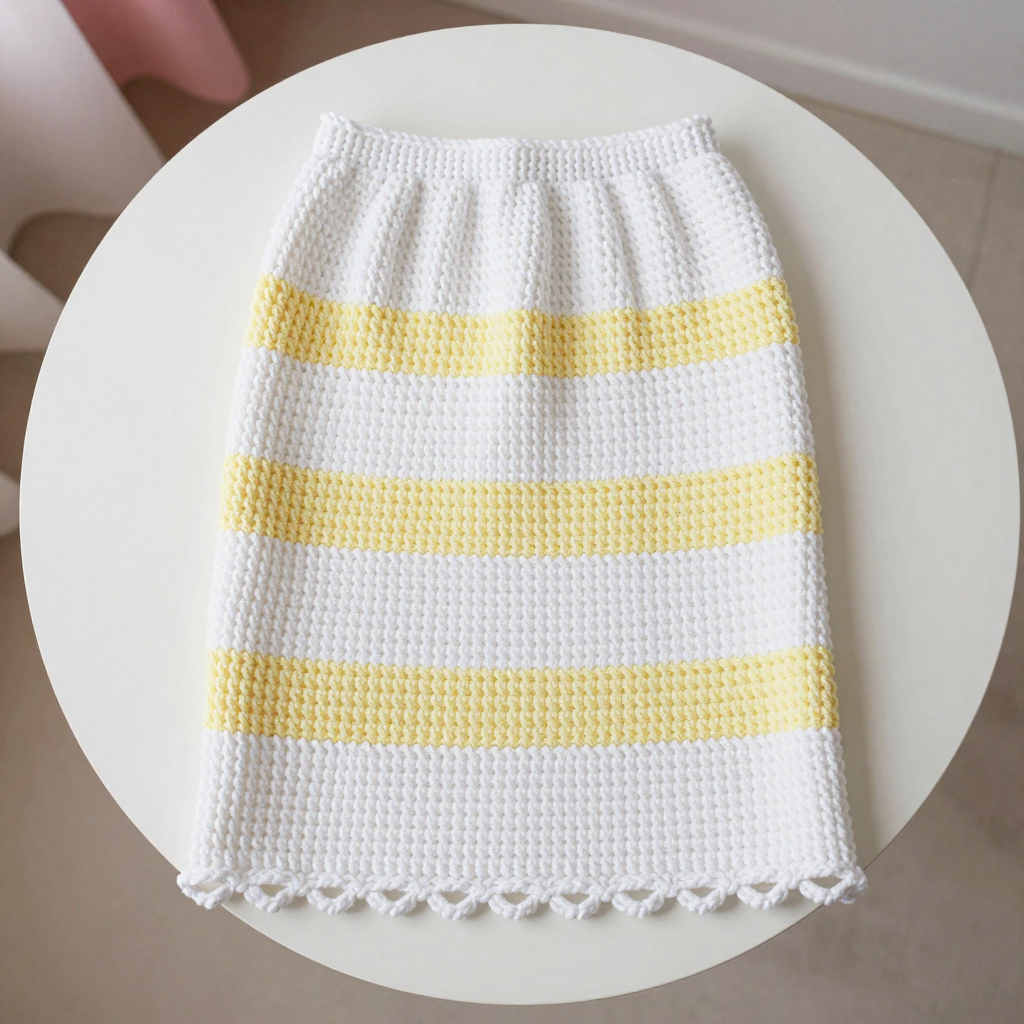
Lichen Grid Motif Crochet Bralette Free Pattern

Introduction
This Lichen Grid Motif Bralette is a fun, beginner-friendly project that turns six simple squares into a wearable top with a blocky, patchwork Y2K vibe. It's perfect for anyone who has mastered single crochet and wants to try their hand at bobble stitch and motif joining without committing to a huge project. The alternating moss green and lichen green tweed wool gives it a rustic, earthy look with a soft, slightly nubby texture that feels cozy against the skin. Each square has a raised ring of bobbles around the center, so the finished piece has just enough texture to keep it interesting while staying comfortable and light.
Materials Needed
- Yarn: Worsted weight tweed wool (approx. 200-220 yd per 100g skein). Color A (moss green): 1 skein (approx. 100 yd). Color B (lichen green): 1 skein (approx. 100 yd).
- Hook: 4.0 mm (US G-6) crochet hook
- Notions: Tapestry needle, scissors, stitch markers, blocking mats and pins
- Finished size: To fit bust 34-36" (86-91 cm). Front panel: 10.5" wide x 7" high (26.5 cm x 18 cm). Band: 1.5" wide (4 cm) x 30" long (76 cm). Straps: 0.5" wide (1.5 cm) x 16" long (40 cm) each.
Abbreviations
- ch = chain
- sc = single crochet
- sl st = slip stitch
- st(s) = stitch(es)
- sp(s) = space(s)
- bobble = bobble stitch (see Tip 1)
- WS = wrong side
- rep = repeat
Gauge
One motif = 3.5" x 3.5" (9 cm x 9 cm) after blocking, and 16 sts and 16 rows = 4" (10 cm) in sc. To check, work one motif and measure it after blocking; if it's larger than 3.5", go down a hook size, and if smaller, go up.
Tips Before You Start
- Bobble stitch: To make a bobble, work 4 partial double crochets in the same stitch (yarn over, insert hook, pull up a loop, yarn over, pull through 2 loops — repeat 4 times), then yarn over and pull through all 5 loops on the hook. Push the bobble to the back (wrong side) of your work as you go.
- Keep your tension even on the motifs so all six squares match in size — this makes joining much easier.
- Block each motif to 3.5" square before joining; this sets the corners and makes the seams neat.
- Try the bralette on (or pin it) before sewing the straps permanently so you can adjust the length to your fit.
Step-by-Step Instructions
Motif (make 6: 3 in A, 3 in B)
Set-up: With A or B, ch 4, join with sl st to form ring.
R1: Ch 1, 8 sc in ring, join with sl st to first sc (8 sts).
R2: Ch 1, [sc, bobble] in each sc around, join with sl st to first sc (16 sts, 8 bobbles).
R3: Ch 1, sc in each st around, join with sl st to first sc (16 sts).
R4: Ch 1, [sc, ch 2, sc] in first sc (corner), sc in next 3 sc, [sc, ch 2, sc] in next sc (corner), sc in next 3 sc, [sc, ch 2, sc] in next sc (corner), sc in next 3 sc, [sc, ch 2, sc] in next sc (corner), sc in last 3 sc, join with sl st to first sc (20 sc, 4 ch-2 sps).
R5: Ch 1, sc in each sc and [sc, ch 2, sc] in each ch-2 sp around, join with sl st to first sc (28 sc, 4 ch-2 sps).
Fasten off. Weave in ends. Block motifs to 3.5" square.
Joining Motifs
Arrange motifs in 2 rows of 3, alternating colors: Row 1: A, B, A; Row 2: B, A, B.
Join motifs with sc seams: hold two motifs with WS together, sc in each st across, working through both layers, from corner to corner. Join horizontally first, then vertically, to form the front panel. Fasten off.
Band
Set-up: With A, ch 11.
Row 1: Sc in 2nd ch from hook and in each ch across (10 sts).
Row 2: Ch 1, turn, sc in each sc across (10 sts).
Rows 3-30" length: Rep Row 2 until band measures 30" (76 cm). Fasten off, leaving a long tail for sewing.
Straps (make 2)
Set-up: With A, ch 4.
Row 1: Sc in 2nd ch from hook and in each ch across (3 sts).
Row 2: Ch 1, turn, sc in each sc across (3 sts).
Rows 3-16" length: Rep Row 2 until strap measures 16" (40 cm). Fasten off, leaving a long tail.
Assembly
Pin the front panel to the band, aligning the bottom edge of the panel with the top edge of the band, centered. Sew together using whipstitch or sc. Sew straps to the top corners of the front panel and to the back of the band, adjusting length as desired. Weave in ends.
Edging
With A, join yarn at one side seam of the band. Sc evenly around the entire top edge of the bralette (band and front panel), working sc in each st and ch-1 sp. Join with sl st. Fasten off. Weave in ends.
Assembly and Finishing
Sew the front panel to the band with a whipstitch or sc seam, keeping the panel centered along the band. Attach each strap to a top corner of the front panel and to the back of the band, trying the piece on first to fine-tune the length. Weave in all ends neatly on the wrong side. Block lightly to shape: mist with water, pin to the finished measurements, and let dry completely before wearing.
Pro Tips and Variations
- Color play: Swap the checkerboard for a solid color, or use three colors in a diagonal stripe for a different patchwork effect.
- Adjustable fit: Make the band a few inches longer and add a button or tie closure at the back for an adjustable fit.
- Strap style: Replace the plain straps with a halter tie or crisscross back straps for a different silhouette.