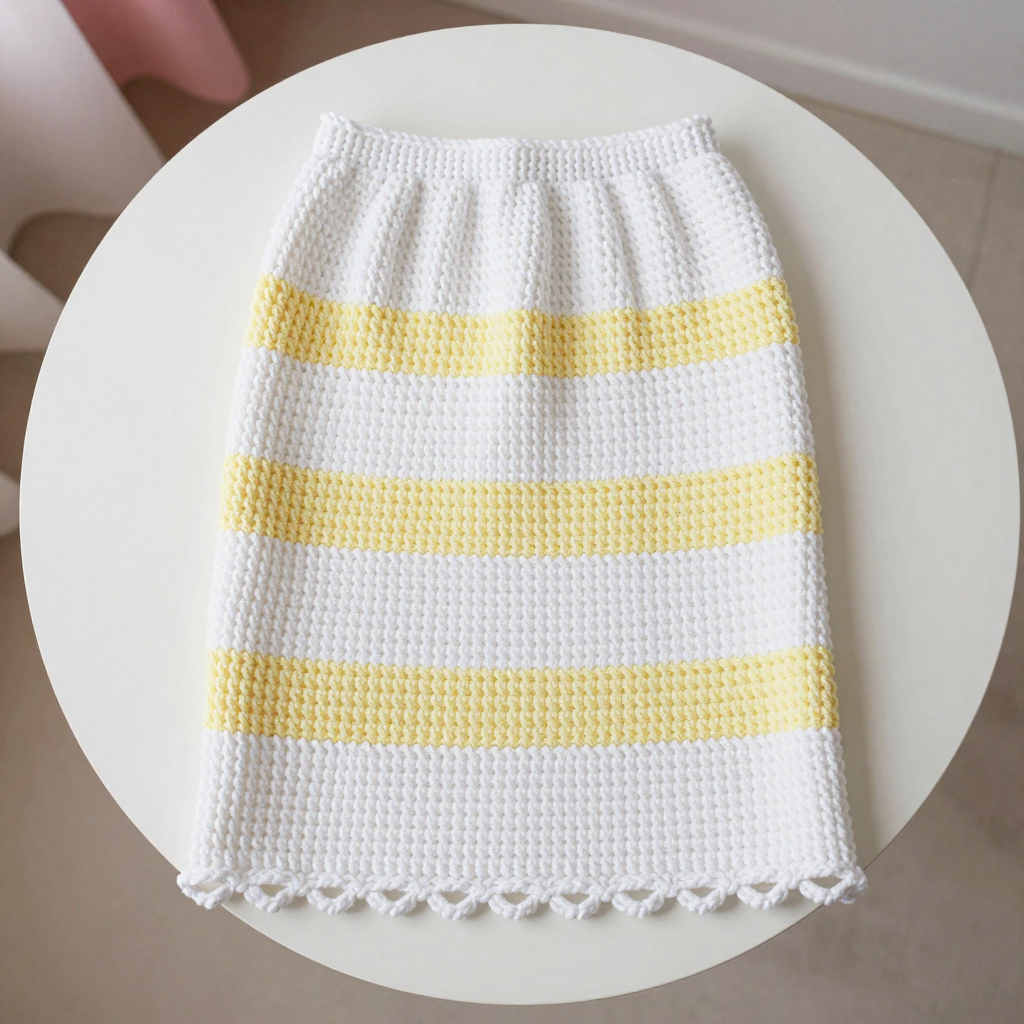
Turmeric Top Jar Cosy Free Crochet Pattern

Introduction
This Turmeric Top Jar Cosy is the perfect first project for anyone who wants to make something useful, colorful, and quick. It is worked as a simple flat rectangle of single crochet, then seamed into a tube, so you never have to worry about working in the round or shaping. The bold color block of turmeric yellow and paprika red gives it a modern, streetwear-inspired look that stands out on any kitchen shelf. The dense single crochet fabric feels sturdy and slightly ridged in the hand, and it hugs a standard jar snugly to keep contents shaded and protected.
Materials Needed
- Yarn: DK weight (3) cotton yarn, approximately 50 yards turmeric yellow (A) and 50 yards paprika red (B)
- Hook: 3.5 mm (E/4) crochet hook
- Notions: Tapestry needle for seaming and weaving in ends, scissors, stitch marker (optional)
- Finished size: Fits a standard 16 oz (500 ml) jar with a circumference of about 10 inches (25 cm) and a height of 4 inches (10 cm)
Abbreviations
- ch — chain: make a loop of yarn and pull it through the loop on your hook
- sc — single crochet: insert hook into stitch, yarn over, pull up a loop, yarn over, pull through both loops
- sl st — slip stitch: insert hook into stitch, yarn over, pull through both the stitch and the loop on your hook
- st(s) — stitch(es)
- rnd — round
- A — turmeric yellow
- B — paprika red
Gauge
20 sts and 24 rows = 4 inches (10 cm) in single crochet. To check, crochet a small swatch in single crochet and measure a 4-inch section; adjust your hook size if you have too many or too few stitches.
Tips Before You Start
- Keep your turning chains loose but consistent so the side edges stay straight and easy to seam.
- Count your stitches at the end of every row; the width should stay at 50 stitches throughout.
- Change to color B at the last stitch of Row 12 by pulling the new color through the final loop, so the color line stays crisp.
- Cotton yarn has little stretch, which is ideal here — the cosy will hold its shape on the jar without sagging.
Step-by-Step Instructions
Rectangle (worked flat, starting in A)
Row 1: Ch 51, sc in 2nd ch from hook and each ch across (50 sts).
Rows 2-12: Ch 1, turn, sc in each st across (50 sts). Change to B at the end of Row 12.
Rows 13-24: Ch 1, turn, sc in each st across (50 sts). Fasten off, leaving a long tail for seaming.
Assembly
With right sides facing, whipstitch or sl st the short edges together to form a tube, using the long tail. Fasten off. Weave in ends.
Edging (B) — Top Edge
With right side facing, join B with a sl st to the top edge.
Rnd 1: Ch 1, sc evenly around top edge, approx 50 sts. Join with sl st to first sc. Fasten off.
Edging (B) — Bottom Edge
Repeat the top edging around the bottom edge: join B with a sl st, ch 1, sc evenly around, approx 50 sts, join with sl st to first sc. Fasten off. Weave in ends.
Assembly and Finishing
Seam the short edges with the long tail using whipstitch or slip stitch, keeping the seam flat and even so the tube sits straight. Weave in all ends on the wrong side, taking care not to pull the fabric tight. Block lightly by misting with water and smoothing flat, or steam gently with an iron held just above the surface — never press directly onto the cotton. Let it dry fully before slipping it onto your jar.
Pro Tips and Variations
- Swap the color order (red on the bottom, yellow on top) for a different look, or add a third stripe in a neutral shade.
- Work the edging in a contrasting color, such as cream or charcoal, to frame the color block.
- Make a taller version by adding rows in multiples of two before seaming — just remember to add matching edging stitches.