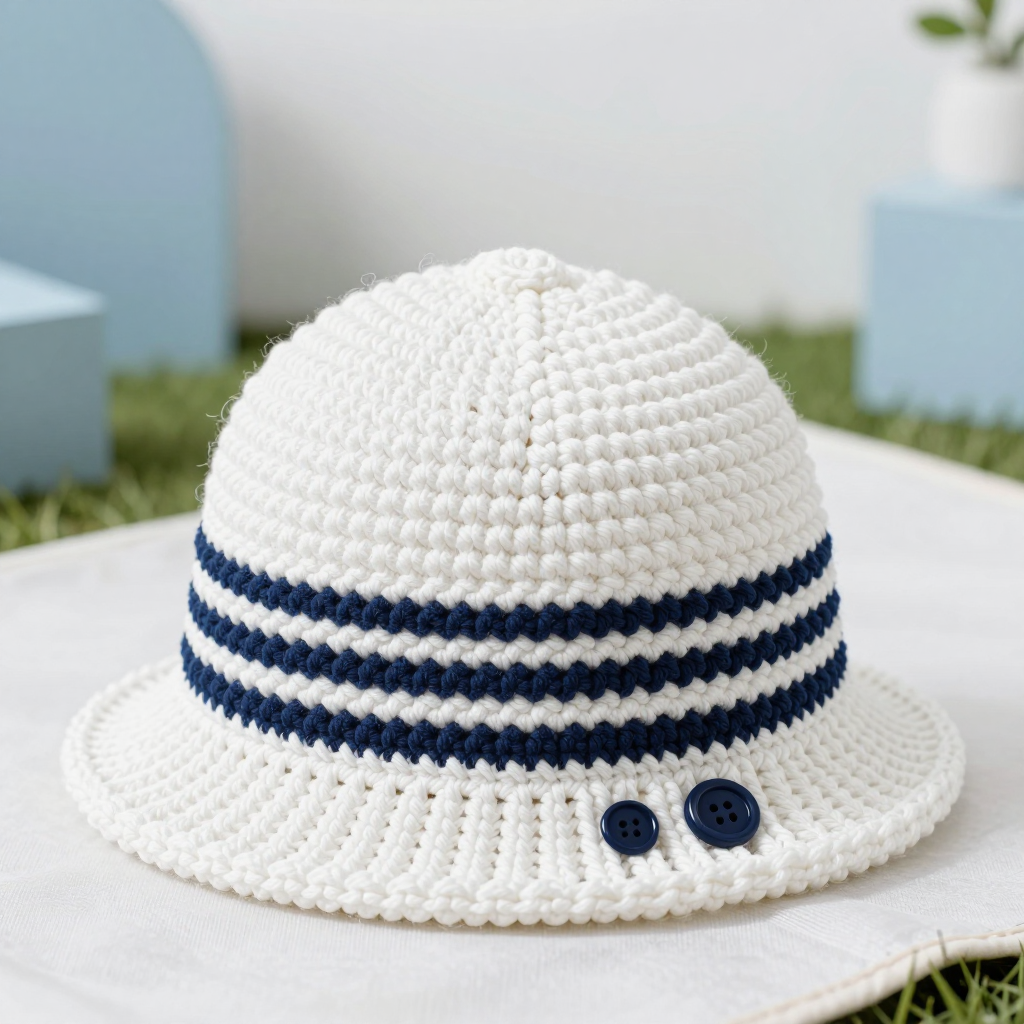
Little Blue Whale Hat Free Crochet Pattern
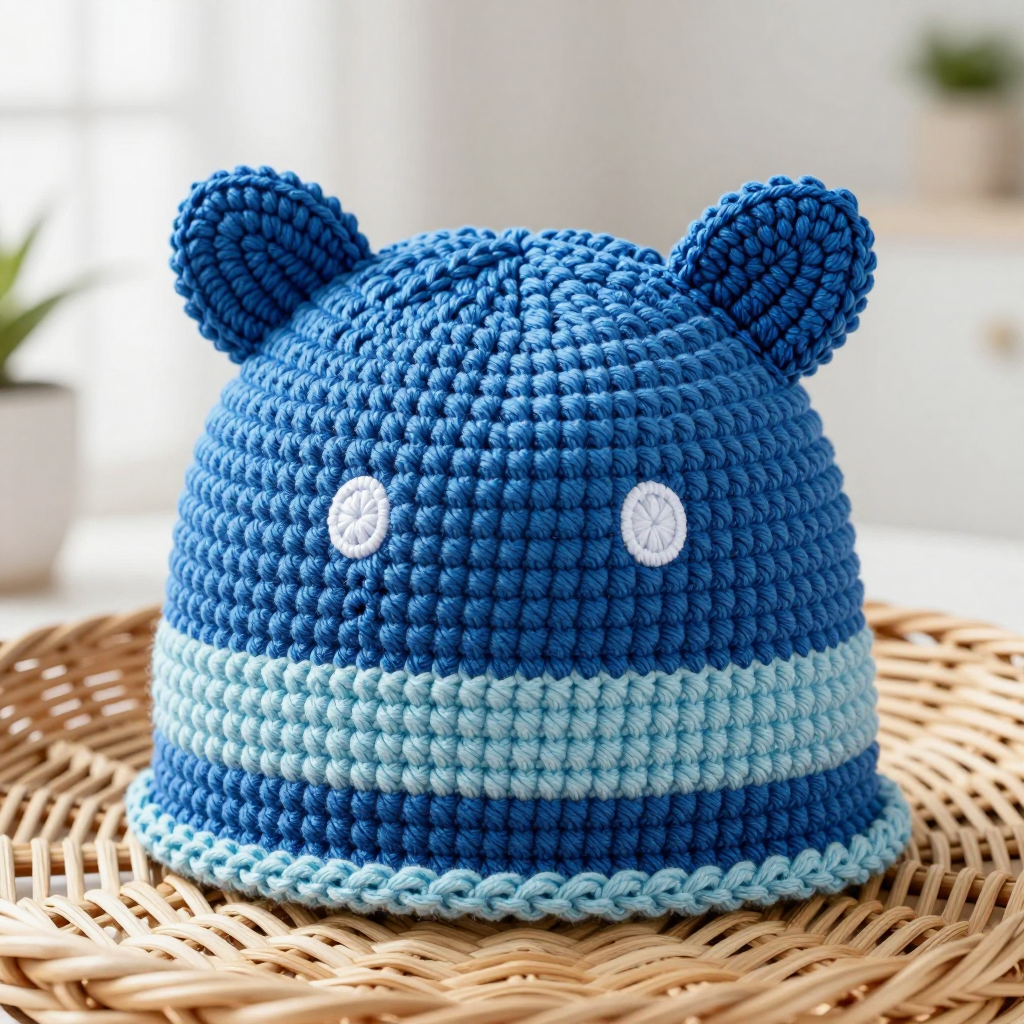
Little Blue Whale Hat Free Crochet Pattern
This little whale hat is made for anyone who wants a sweet, ocean-themed beanie without a tricky pattern. It is a beginner-friendly project worked almost entirely in single crochet, so you only need to know a handful of basic stitches. The deep ocean-blue dome gets its charm from a light blue belly stripe on the front, two tiny fins on the sides, and a rounded stuffed tail nub perched on the crown. It looks playful and handmade, and it feels soft, stretchy, and cozy on the head. Whether you are making it for a toddler, a child, or a whale-loving grown-up, it comes together quickly in an evening or two.
Materials Needed
- Yarn: Worsted weight (4) acrylic yarn. About 100 yds in ocean blue (Color A), 30 yds in light blue (Color B), and a small amount of white for the optional eyes.
- Hook: 5.5 mm (I/9) crochet hook.
- Notions: Stitch marker, tapestry needle, scissors, and a small amount of polyester fiberfill for stuffing the tail.
- Finished size: Fits a head circumference of 18–20 inches (toddler/child). Hat height is approximately 7.5 inches including the tail.
Abbreviations
- ch: chain — make a loop of yarn on the hook.
- sc: single crochet — insert hook, pull up a loop, yarn over, pull through both loops.
- inc: increase — work 2 single crochet into the same stitch.
- sc2tog: single crochet 2 together — a decrease that joins 2 stitches into 1.
- sc3tog: single crochet 3 together — a decrease that joins 3 stitches into 1.
- MR: magic ring — an adjustable loop used to start working in the round.
- sl st: slip stitch — insert hook, yarn over, pull through both loops on the hook.
- st(s): stitch(es).
- Rnd: round — a full circle of stitches worked in the round.
- Row: a straight line of stitches worked back and forth.
Gauge
12 stitches and 14 rows = 4 inches in single crochet. To check your gauge, crochet a small swatch in single crochet and measure a 4-inch section; if you have more stitches than 12, go up a hook size, and if you have fewer, go down a hook size.
Tips Before You Start
- Place a stitch marker in the first stitch of each round so you never lose your place in the spiral.
- Keep your single crochet stitches relaxed and even; tight stitches make the hat stiff and can shrink the finished size.
- Work the belly stripe onto the front loop of R24 so the rectangle sits neatly on the surface of the hat.
- Stuff the tail only lightly so it keeps a soft, rounded shape instead of looking lumpy.
Step-by-Step Instructions
Hat (Color A)
Rnd 1: MR, 6 sc (6 sts).
Rnd 2: inc x6 (12 sts).
Rnd 3: [sc, inc] x6 (18 sts).
Rnd 4: [2 sc, inc] x6 (24 sts).
Rnd 5: [3 sc, inc] x6 (30 sts).
Rnd 6: [4 sc, inc] x6 (36 sts).
Rnd 7: [5 sc, inc] x6 (42 sts).
Rnd 8: [6 sc, inc] x6 (48 sts).
Rnd 9: [7 sc, inc] x6 (54 sts).
Rnds 10–24: sc in each st around (54 sts).
Fasten off.
Belly Stripe (Color B)
Work in rows on the front of the hat, centered.
Row 1: Join B to the front loop of R24 at center, ch 1, sc in the same st and next 9 sts (10 sts).
Rows 2–6: ch 1, turn, sc in each st across (10 sts).
Fasten off and weave in ends.
Fin (Make 2, Color A)
Row 1: ch 6, sc in 2nd ch from hook and each ch across (5 sts).
Row 2: ch 1, turn, sc2tog, sc, sc2tog (3 sts).
Row 3: ch 1, turn, sc3tog (1 st).
Fasten off, leaving a tail for sewing.
Tail (Color A)
Rnd 1: MR, 4 sc (4 sts).
Rnd 2: inc x4 (8 sts).
Rnd 3: sc in each st around (8 sts).
Rnd 4: [sc, inc] x4 (12 sts).
Rnd 5: sc in each st around (12 sts).
Rnd 6: [sc2tog] x6 (6 sts).
Stuff lightly. Fasten off, leaving a tail for sewing.
Edging (Color B)
Join B to any st at the bottom edge, ch 1, sc in each st around, sl st to join. Fasten off.
Assembly and Finishing
Sew the tail to the top center of the hat using the yarn tail and a tapestry needle. Sew the fins to the sides of the hat, slightly above the belly stripe. With white yarn, embroider a small eye above the belly stripe on each side if you like. Weave in all remaining ends on the wrong side. Block the hat lightly by misting it with water and shaping it over a bowl or hat form, then let it dry completely.
Pro Tips and Variations
- Swap the light blue belly stripe for a soft gray or cream for a different whale look.
- Add a second belly stripe row in white for a layered ocean wave effect.
- Make a larger version by working extra increase rounds (one more increase round adds 6 stitches) and adding straight rounds until the hat reaches the desired height.