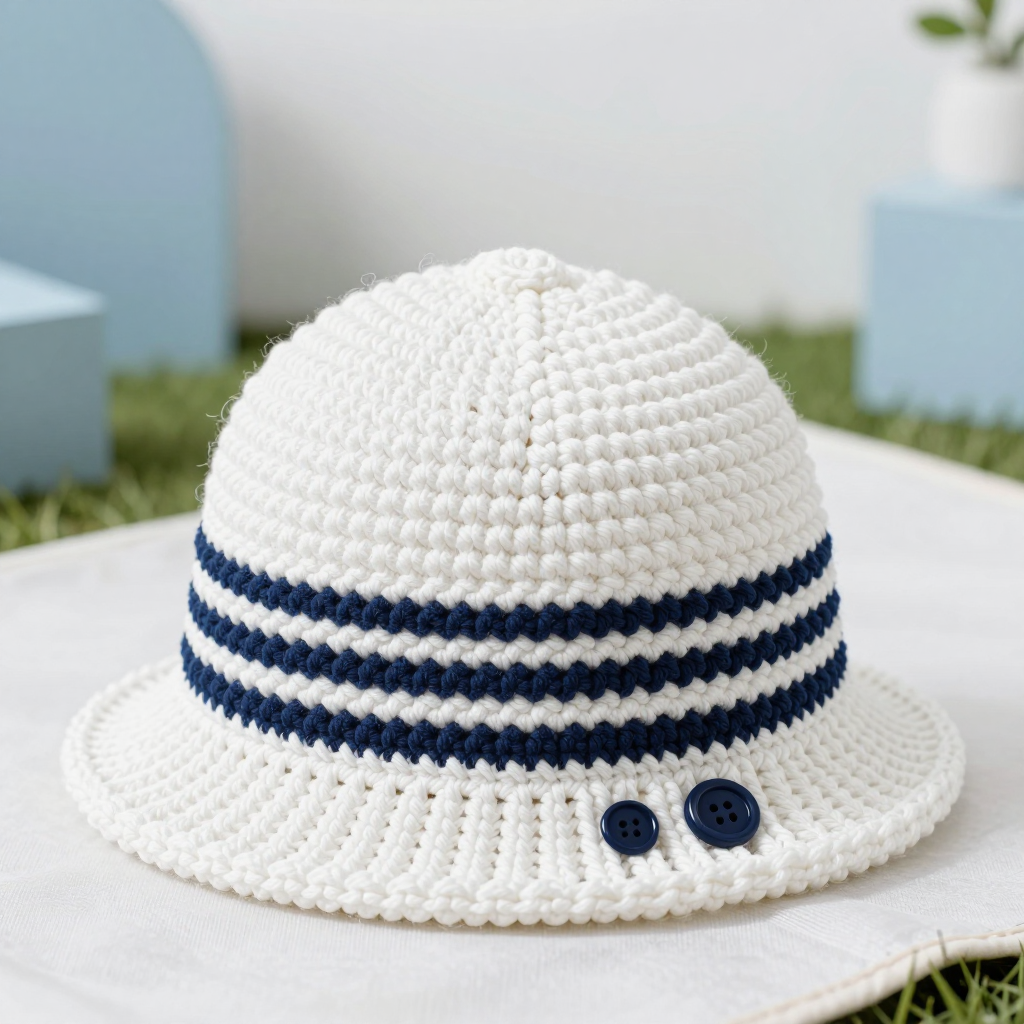
Four-Square Panel Beret: Free Crochet Pattern

Introduction
This modern crochet beret is a patchwork of texture and color, made from four straight basketweave panels joined into a simple 2x2 grid. Two panels are worked in dusty rose and two in grey, so the finished hat has a bold color-blocked look with a soft, raised basketweave surface you will love to touch. A flat grey top circle gathers the panels into a slouchy, tube-shaped crown that sits comfortably on the head. It is a wonderful project for advanced beginners who are ready to try front-post and back-post stitches, and it looks just as good on anyone, making it a truly unisex hat.
Materials Needed
- Yarn: Aran weight wool blend (80% acrylic, 20% wool; 170 yd/100 g). Dusty Rose (A): 100 yd; Grey (B): 100 yd.
- Hook: 5.0 mm (US H-8) crochet hook.
- Notions: Tapestry needle, stitch markers, scissors, rust-proof pins for blocking.
- Finished size: One size fits an average adult head (21–23 inch circumference). The beret measures approx. 11 inches in diameter at the widest point and 8 inches tall.
Abbreviations
- ch – chain
- dc – double crochet
- sc – single crochet
- sl st – slip stitch
- st(s) – stitch(es)
- FPdc – front post double crochet: work a dc around the post of the stitch below, from the front
- BPdc – back post double crochet: work a dc around the post of the stitch below, from the back
- rep – repeat
Gauge
14 sts and 8 rows = 4 inches (10 cm) in basketweave pattern, which means one 4-stitch group measures about 1 inch. Work a small swatch in pattern and measure it before starting; if your gauge is off, change hook size until it matches.
Tips Before You Start
- Keep your turning chain at the start of each panel row loose so the edges stay straight and easy to seam later.
- Mark the first stitch of each row with a stitch marker; the ch-3 counts as the first dc, so it is easy to lose track.
- Work all four panels to the same length and check them against each other before seaming, since basketweave can stretch.
- When joining the top circle, pin it in place first and ease the panel fabric in gradually rather than stretching the circle.
Step-by-Step Instructions
Basketweave Panel (make 2 in A, 2 in B)
Ch 21.
Row 1: Dc in 4th ch from hook and in each ch across (19 dc). Turn.
Row 2: Ch 3 (counts as first dc), [FPdc around next 4 sts, BPdc around next 4 sts] twice, FPdc around next 4 sts, dc in last st (19 sts). Turn.
Row 3: Ch 3, [BPdc around next 4 sts, FPdc around next 4 sts] twice, BPdc around next 4 sts, dc in last st (19 sts). Turn.
Rows 4–17: Repeat Rows 2–3 seven times more, maintaining pattern (19 sts). Fasten off, leaving a 12-inch tail for seaming.
Top Circle (B)
With B, make a magic ring.
Rnd 1: Ch 3 (counts as first dc), 11 dc in ring, join with sl st to top of ch-3 (12 dc).
Rnd 2: Ch 3, dc in same st, 2 dc in each st around, join (24 dc).
Rnd 3: Ch 3, dc in same st, *dc in next st, 2 dc in next st; rep from * around, join (36 dc).
Rnd 4: Ch 3, dc in same st, *dc in next 2 sts, 2 dc in next st; rep from * around, join (48 dc).
Rnd 5: Ch 3, dc in same st, *dc in next 3 sts, 2 dc in next st; rep from * around, join (60 dc).
Rnd 6: Ch 3, dc in same st, *dc in next 4 sts, 2 dc in next st; rep from * around, join (72 dc).
Rnd 7: Ch 1, sc in each st around, join (72 sc). Fasten off, leaving an 18-inch tail.
Assembly and Finishing
Arrange the four panels in a 2x2 grid with all right sides facing: top row A (left) and B (right); bottom row B (left) and A (right). Using mattress stitch and the 12-inch tails, sew the vertical edges of adjacent panels together, then sew the horizontal edges, forming a flat square approximately 8x8 inches.
With the right side facing, pin the top circle to the top edge of the assembled panel square, centering it and distributing the fullness evenly. Using the 18-inch tail, whipstitch the circle in place, easing in the extra fabric of the panels to fit the circle.
Weave in all ends. Block lightly to shape: mist with water, pin to the finished measurements, and let dry completely.
Pro Tips and Variations
- Swap the colors for a two-tone look in any palette, or work all four panels in one color for a subtle, all-over basketweave texture.
- Add a small crocheted or purchased button to the center of the top circle for a classic beret detail.
- For a slightly firmer hat that holds its shape, go down one hook size for the top circle only.