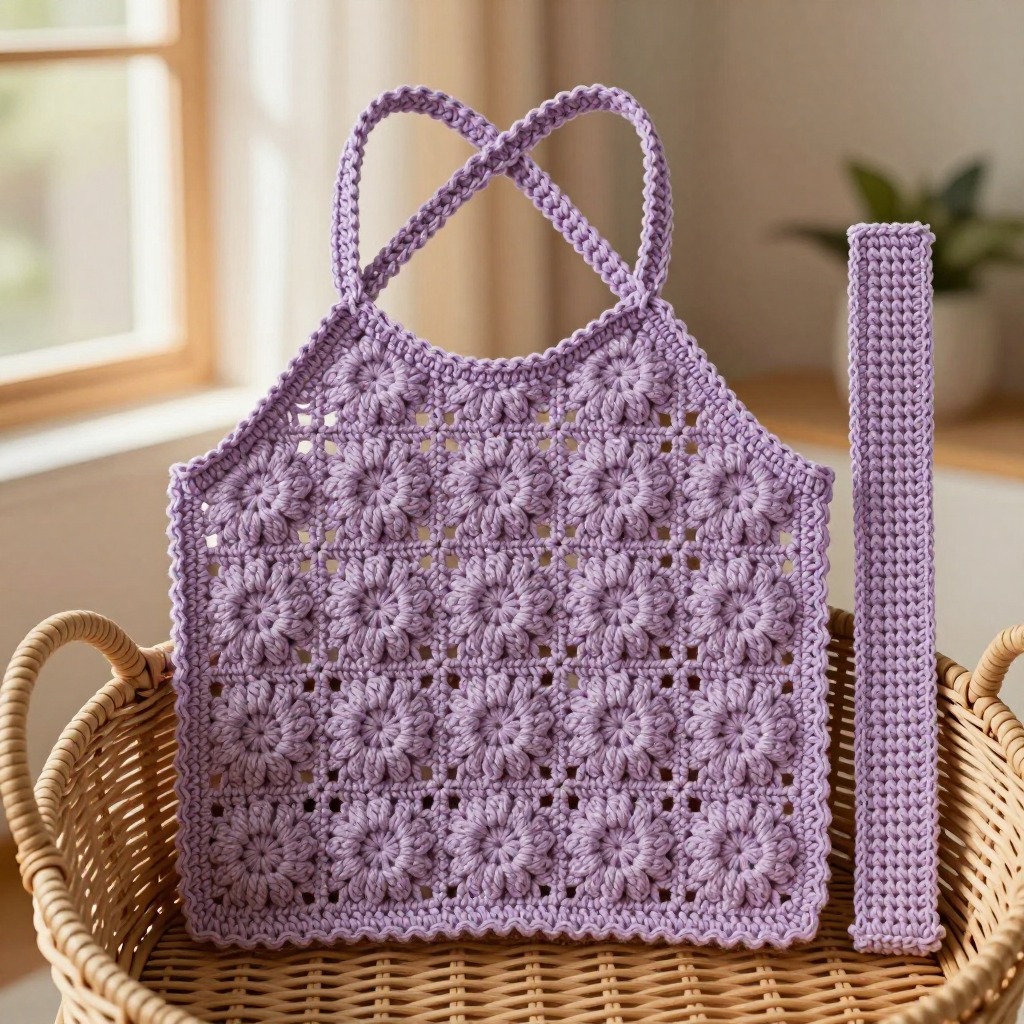
Hibiscus Pocket Tote Knit Free Pattern

Hibiscus Pocket Tote Knit Free Pattern
Introduction
This Hibiscus Pocket Tote is the perfect first bag project for a new knitter — it's built from one simple flat rectangle of stockinette, folded in half and seamed up the sides, so there's no shaping, no working in the round, and no complicated construction to worry about. The bright turquoise cotton gives it a crisp, sturdy, summery feel, while the pink and yellow hibiscus appliqué on the front turns a plain tote into a little tropical statement piece. It's roomy enough for a paperback, a water bottle, and your sunglasses, and it works up quickly in worsted weight cotton over a weekend. Whether you're knitting your first accessory or your fiftieth, this cheerful bag is a joy to make and even more fun to carry.
Materials Needed
- Yarn: Worsted weight (category 4) cotton yarn. Main color (MC) turquoise: 200 yd (183 m). Contrasting color (CC) pink: 50 yd (46 m). Yellow: 20 yd (18 m). Green: small amount (about 10 yd / 9 m) for leaves.
- Needles: US 7 (4.5 mm) straight knitting needles, or size needed to match gauge.
- Notions: Tapestry needle for seaming and appliqué, stitch markers (optional), scissors, tape measure, blocking pins and mat.
- Finished size: Approximately 14 inches wide x 16 inches tall (35.5 cm x 40.5 cm), excluding handles.
Abbreviations
- CO — cast on: create the starting stitches on your needle.
- BO — bind off: finish the edge so the stitches don't unravel.
- k — knit stitch.
- p — purl stitch.
- yo — yarn over: wrap the yarn over the right needle to create an extra stitch (and a small hole).
- st(s) — stitch(es).
- RS — right side: the front, outward-facing side of the fabric.
- WS — wrong side: the back, inward-facing side of the fabric.
- stockinette stitch — knit on the RS rows, purl on the WS rows.
- garter stitch — knit every row.
Gauge
18 stitches and 24 rows = 4 inches (10 cm) in stockinette stitch. Knit a small swatch, block it lightly, and measure a 4-inch section in the middle — if you have more stitches than 18, go up a needle size; if fewer, go down.
Tips Before You Start
- Cotton has little stretch. Knit your swatch and measure it after a gentle wash and dry, since cotton can relax and grow slightly — this keeps your finished tote the size you expect.
- Keep your edges tidy. Slip the first stitch of every row purlwise for neat, even side edges that make mattress stitch seaming much easier.
- Don't pull the seams tight. When seaming with mattress stitch, keep your tension relaxed so the bag lies flat and the side seams don't pucker.
- Pin the appliqué before sewing. Lay out all five petals, the center, and the leaves on the front of the bag and pin them in place first — you can adjust the arrangement before committing with your needle.
Step-by-Step Instructions
Bag Panel (MC)
Row 1 (CO): Cast on 64 sts.
Rows 2–192: Work in stockinette stitch (knit on RS rows, purl on WS rows) until the piece measures 32 inches (81 cm) from the cast-on edge (64 sts).
Final row: Bind off all 64 sts.
Handles (make 2, MC)
Row 1 (CO): Cast on 8 sts.
Rows 2–72: Work in garter stitch (knit every row) until the strip measures 12 inches (30.5 cm) (8 sts).
Final row: Bind off all 8 sts.
Hibiscus Petals (make 5, CC)
Row 1 (CO): Cast on 3 sts.
Row 1: k1, yo, k1, yo, k1 (5 sts).
Row 2: Purl (5 sts).
Row 3: k2, yo, k1, yo, k2 (7 sts).
Row 4: Purl (7 sts).
Row 5: k3, yo, k1, yo, k3 (9 sts).
Row 6: Purl (9 sts).
Row 7: k4, yo, k1, yo, k4 (11 sts).
Row 8: Purl (11 sts).
Row 9: Bind off all 11 sts.
Flower Center (yellow)
Row 1 (CO): Cast on 6 sts.
Rows 2–5: Work in stockinette stitch for 4 rows (6 sts).
Final row: Bind off all 6 sts.
Leaves (make 2, green)
Row 1 (CO): Cast on 5 sts.
Row 1: k1, yo, k3, yo, k1 (7 sts).
Row 2: Purl (7 sts).
Row 3: k1, yo, k5, yo, k1 (9 sts).
Row 4: Purl (9 sts).
Row 5: Bind off all 9 sts.
Assembly and Finishing
Form the bag: Fold the large panel in half so it measures 14 inches wide x 16 inches tall, with the cast-on edge at the top and the bound-off edge at the bottom. Using mattress stitch and MC, seam both side edges, leaving the top open.
Attach the handles: Position each handle on the top edge so it sits 3 inches in from each side seam, with the handle ends overlapping the top edge by 1 inch. Pin, then sew the overlapping ends securely with MC, working back and forth a few times for strength.
Add the appliqué: Arrange the five pink petals in a circle on the front of the bag, overlapping them slightly, and sew them in place with CC. Sew the yellow center over the petal bases. Sew the two green leaves at the base of the flower.
Finish: Weave in all ends on the WS. Block the bag lightly by misting it with water, shaping it flat to the finished measurements, and letting it dry completely away from direct heat.
Pro Tips and Variations
- Add a lining: Cut a rectangle of cotton fabric to the inside measurements, sew up the sides, and hand-sew it inside the top edge for extra structure and a polished finish.
- Change the bloom: Swap the pink petals for coral, red, or orange, or make a second flower in a smaller size for the back of the bag.
- Make it a market bag: Lengthen the panel to 40 inches (102 cm) for a deeper tote, or knit the handles in the round as a long tube for a rounder, more comfortable grip.