Grunge Gradient Boxy Jacket: Free Knit Pattern

Introduction
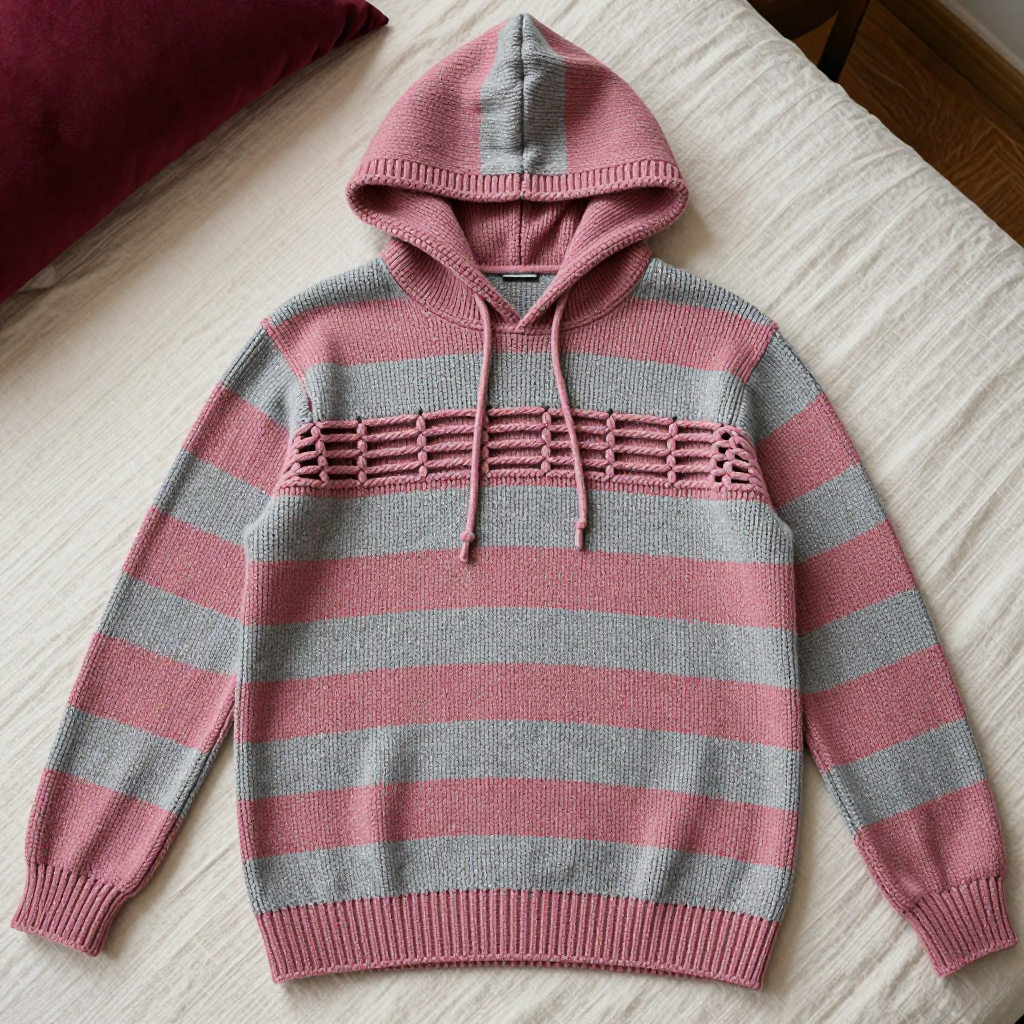
This boxy jacket is for anyone who loves that faded, lived-in grunge look but wants something genuinely easy to knit. The whole thing is built from flat stockinette rectangles, so there is no shaping to fuss over, and the magic happens afterward: short-row gradient stripes in charcoal fade into oatmeal along each side edge. The result is a wide, straight body with straight sleeves and a soft ribbed neckband, all in cozy DK merino. It feels light but warm, drapes beautifully, and looks like a piece you have owned for years.
Materials Needed
- Yarn: DK weight (11 WPI) merino wool. Oatmeal (MC): 600 yd (550 m). Charcoal (CC): 400 yd (366 m).
- Needles: 4.0 mm (US 6) circular needle, 32" (80 cm) or longer.
- Notions: Stitch markers, stitch holders or waste yarn, a tapestry needle, and a spare circular needle for picking up stitches.
- Finished size: Bust circumference 48" (122 cm); length 22" (56 cm); sleeve length from shoulder 18" (46 cm).
Abbreviations
- CO: cast on
- BO: bind off
- st(s): stitch(es)
- st st: stockinette stitch (knit on right side rows, purl on wrong side rows)
- RS: right side
- WS: wrong side
- K: knit
- P: purl
- k1, p1 rib: knit 1, purl 1 ribbing
- MC: main color (oatmeal)
- CC: contrast color (charcoal)
- W&T: wrap and turn (wrap the next stitch, then turn your work)
Gauge
22 sts and 30 rows = 4" (10 cm) in stockinette stitch. Knit a swatch at least 6" (15 cm) square, block it, and measure the center to confirm your stitch and row counts before starting.
Tips Before You Start
- Swatch and block first. The boxy fit depends on accurate gauge, and merino often relaxes after blocking, so measure your swatch after washing.
- Keep your short rows tidy. Place a marker at each wrap point as you work so you can find the wraps easily when you pick them up on the final pass.
- Work the gradient stripes after seaming. The body is assembled first, then the side edges are filled with short-row stripes, so the stripes sit neatly over the seams.
- Count your unworked stitches each row. The pattern grows by 10 stitches per row until 12 remain at each end; a quick count keeps the fade even on both sides.
Step-by-Step Instructions
Back and Front (worked as one rectangle)
Row 1: With MC, CO 264 sts.
Rows 2-330: Work in st st (knit on RS rows, purl on WS rows) until piece measures 22" (56 cm), ending with a WS row (264 sts).
Next row: BO all sts.
Sleeves (make 2)
Row 1: With MC, CO 66 sts.
Rows 2-270: Work in st st until piece measures 18" (46 cm), ending with a WS row (66 sts).
Next row: BO all sts.
Short-Row Gradient Stripes (worked on body after assembly)
With CC, pick up and knit 132 sts along one side edge of the body, from bottom to top.
Row 1 (RS): K to last 10 sts, W&T.
Row 2 (WS): P to last 10 sts, W&T.
Row 3: K to last 20 sts, W&T.
Row 4: P to last 20 sts, W&T.
Rows 5-24: Continue as established, increasing the number of sts left unworked by 10 each row, until 12 sts remain unworked at each end.
Next row: Work across all sts, picking up each wrap and knitting it together with its stitch.
Next 4 rows: Change to MC and work 4 rows in st st.
Repeat: Repeat the short-row sequence with CC, then the 4-row MC band, until the side edge is filled. Repeat the entire process on the other side edge of the body.
Edging (neckband)
With RS facing and MC, pick up and knit sts evenly around the neck opening.
Rnds 1-8: Work in k1, p1 rib for 1" (2.5 cm).
Next rnd: BO in rib.
Assembly and Finishing
Place the front and back rectangles with RS together. Sew the side seams from the bottom edge up 8" (20 cm) for the armholes, then continue seaming to the top for the shoulders, leaving a 10" (25 cm) neck opening. Sew the sleeve seams, then set in the sleeves by sewing the sleeve caps to the armholes. Weave in all ends. Block gently to the finished measurements, pinning the body and sleeves flat and allowing the gradient stripes to dry fully before wearing.
Pro Tips and Variations
- Play with the fade: Swap the charcoal for a deep plum or forest green to shift the grunge palette while keeping the same gradient effect.
- Add length: Work the body rectangle a few inches longer before binding off for a longer, tunic-style jacket.
- Soften the neckline: Work the ribbed neckband in CC instead of MC for a subtle contrast edge that ties the stripes together.