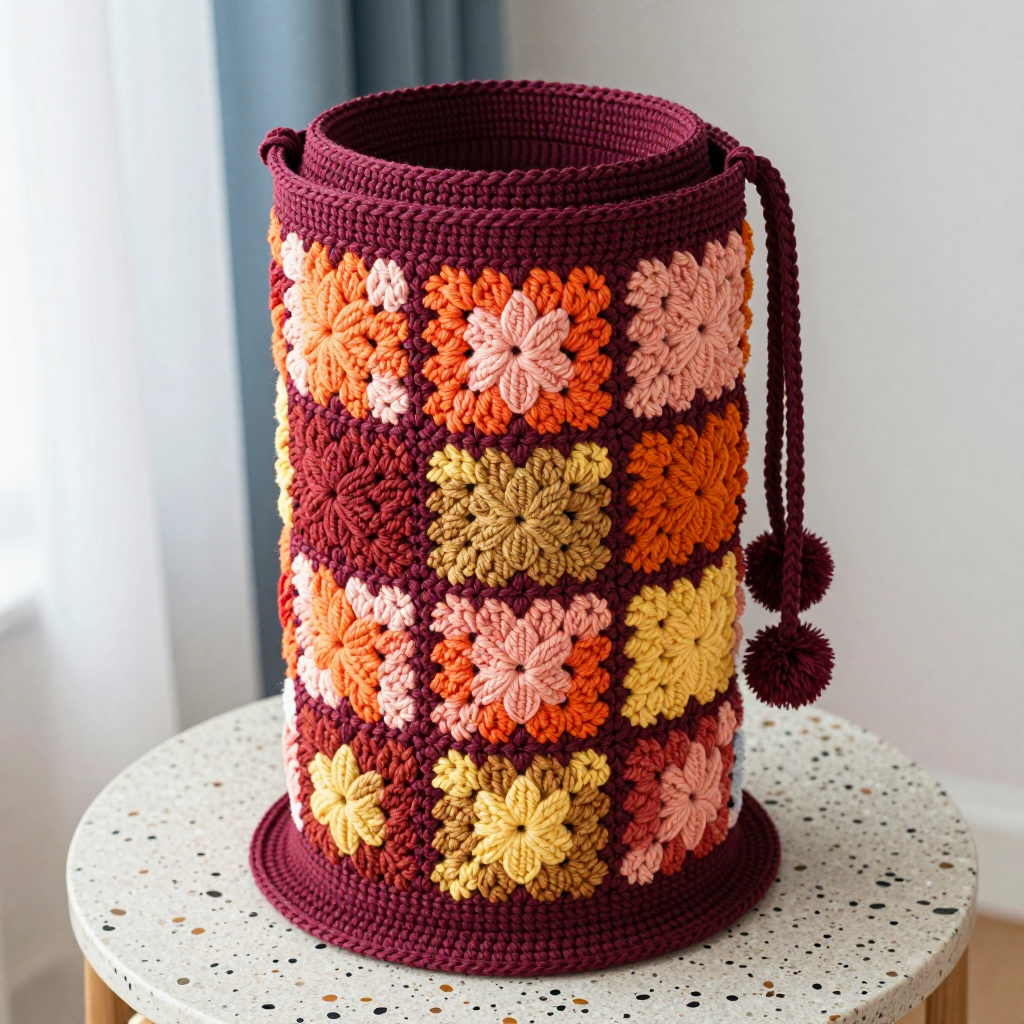
Crochet Rustic Chevron Stripe Tote Bag Free Pattern

Crochet Rustic Chevron Stripe Tote Bag Free Pattern
Introduction
This rustic chevron stripe tote bag is a wonderful project for beginners and seasoned crocheters alike who want a practical, good-looking bag they can carry everywhere. The bold zigzag texture comes from simple double crochet stitches worked around a ch-1 space, so you get a striking chevron look without any tricky stitchwork. Worked in earthy cream, tan, and brown stripes, the bag has a warm, natural feel that pairs beautifully with jeans, linen, or your favorite market-day outfit. The worsted weight cotton gives it a sturdy, slightly firm hand that holds its shape while still feeling soft and comfortable on your shoulder.
Materials Needed
- Yarn: Worsted weight (category 4) cotton yarn in three colors: cream, tan, and brown. You will need roughly 150 yards of each color (about 450 yards total), depending on the height you choose.
- Crochet hook: Size H/8 (5.0 mm)
- Notions: Tapestry needle for weaving in ends and attaching handles, scissors, and a measuring tape
- Finished size: Approximately 13 inches wide by 12 inches tall (before handles), with a 12-inch handle drop. Size is easy to adjust by adding or removing rows.
Abbreviations
- ch – chain
- dc – double crochet
- hdc – half double crochet
- sp – space (the small gap made by a chain)
- st(s) – stitch(es)
- sk – skip (work past the stitch without crocheting into it)
Gauge
Gauge is not critical for this project, but for a bag that matches the finished size, aim for about 4 dc per inch. To check, crochet a small swatch of the chevron pattern and measure a few inches across the middle.
Tips Before You Start
- Count your stitches at the end of every row. The chevron repeat depends on keeping the sk-2 and the (dc, ch 1, dc) increases in the right places, so a quick count saves frogging later.
- Change colors at the end of the last row of a stripe: finish the final dc of the row with the new color so the color change sits neatly at the edge.
- Keep your tension even and slightly firm. Cotton has little stretch, and a firm, consistent gauge helps the bag stand up and hold its shape.
- Carry your unused colors loosely up the side of the bag rather than cutting after every stripe, then cover the carried strands when you seam the sides.
Step-by-Step Instructions
Base of the Bag
Row 1: With brown yarn, ch 51. Dc in 4th ch from hook and in next 3 chs, *(dc, ch 1, dc) in next ch, dc in next 4 chs, sk 2 chs, dc in next 4 chs*; repeat from * to * across, turn. (47 sts, plus 3 ch-1 sps)
Row 2: Ch 3 (counts as dc), dc in next 3 dc, *(dc, ch 1, dc) in ch-1 sp, dc in next 4 dc, sk next 2 dc, dc in next 4 dc*; repeat from * to * across, turn. (47 sts, plus 3 ch-1 sps)
Crocheting the Body
Rows 3–6: Repeat Row 2 in cream. (47 sts, plus 3 ch-1 sps)
Rows 7–10: Repeat Row 2 in tan. (47 sts, plus 3 ch-1 sps)
Rows 11–14: Repeat Row 2 in brown. (47 sts, plus 3 ch-1 sps)
Rows 15–18: Repeat Row 2 in cream. (47 sts, plus 3 ch-1 sps)
Rows 19–22: Repeat Row 2 in tan. (47 sts, plus 3 ch-1 sps)
Rows 23–26: Repeat Row 2 in brown. (47 sts, plus 3 ch-1 sps)
Continue repeating Row 2, alternating cream, tan, and brown every 4 rows in that order, until the body reaches your desired height (about 12 inches), ending with a complete stripe pattern. Fasten off.
Handles (make 2)
Row 1: With tan yarn, ch 61. Hdc in 2nd ch from hook and in each ch across, turn. (60 sts)
Row 2: Ch 1, hdc in each hdc across, turn. (60 sts)
Row 3: Ch 1, hdc in each hdc across, turn. (60 sts) Fasten off.
Repeat Rows 1–3 for the second handle.
Assembly and Finishing
Fold the bag body in half with right sides together and seam the two side edges using the tapestry needle and matching yarn in a simple whipstitch or mattress stitch. Attach the handles to the inside of the bag, evenly spaced on the front and back panels, using the tapestry needle and matching yarn, and stitch each handle end securely with a few passes so it holds up to daily use. Weave in all loose ends securely, working the carried color strands neatly along the inside seams. Block lightly by misting with water and shaping the bag flat to dry, which helps the cotton settle into an even, crisp finish.
Pro Tips and Variations
- Add a fabric lining for extra structure and to keep small items from slipping through the stitches.
- Swap the stripe order or use a single color for a more minimal look while keeping the same chevron texture.
- Make the handles longer for a shoulder bag or shorter for a hand-carry tote, adjusting the starting chain in multiples that suit your length.
Enjoy your new chevron stripe tote bag!