Cotton Candy Envelope Card Holder Free Crochet Pattern

Introduction
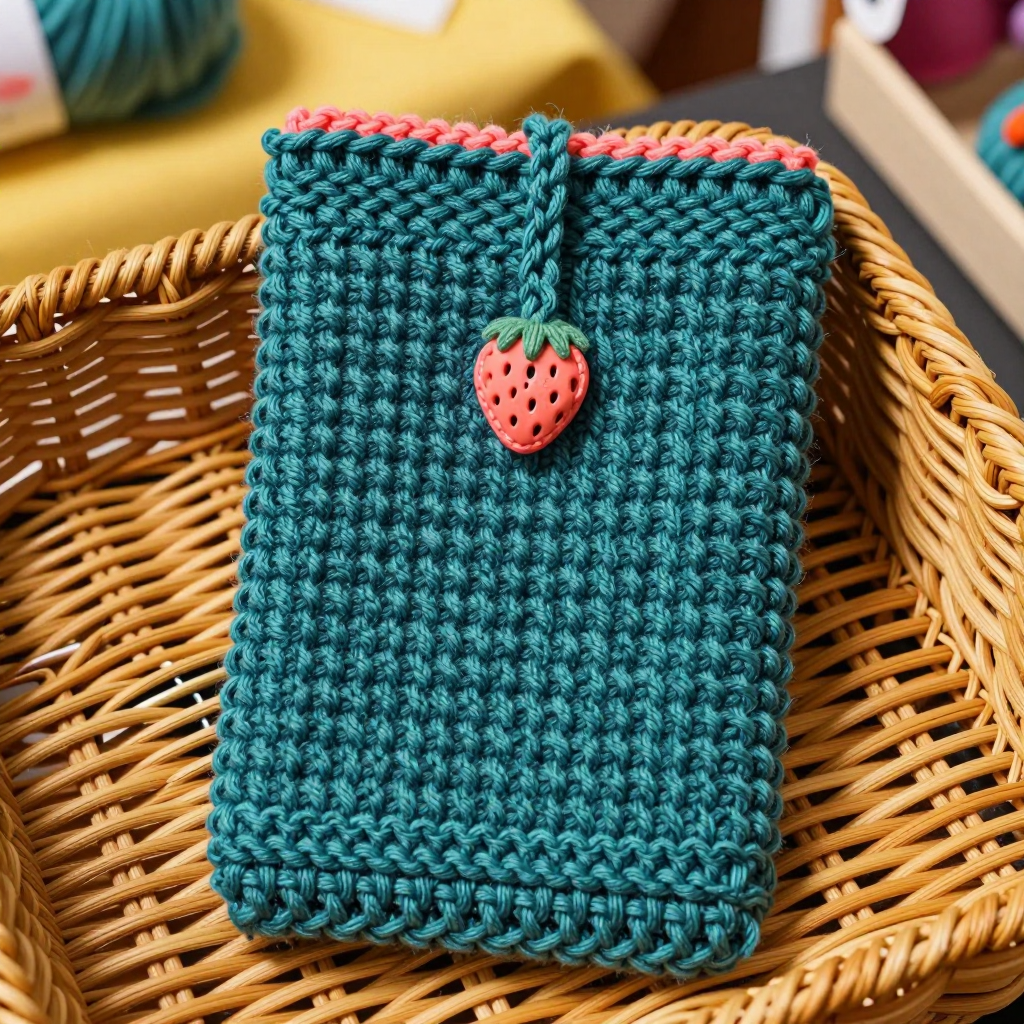
This little cotton candy envelope is the sweetest way to give a gift card, and it's a wonderful first project for anyone new to crochet. Made from just two colors of worsted weight yarn and a handful of single crochet stitches, it works up in under an hour and looks like a tiny, hand-stitched love letter. The soft pink body folds into a neat pocket, while the baby blue edging and four-loop bow give it a delicate ballet-core finish. It feels soft and squishy in the hand, holds a standard gift card snugly, and turns a last-minute present into something worth keeping.
Materials Needed
- Yarn: Worsted weight (4) acrylic yarn — approximately 30 yards cotton candy pink and 10 yards baby blue.
- Hook: 5 mm (H-8) crochet hook.
- Notions: Tapestry needle for seaming and weaving in ends, scissors, and a stitch marker (optional).
- Finished size: 3.75 inches wide by 4.25 inches tall when folded.
Abbreviations
- ch — chain: yarn over and pull through the loop on your hook.
- sc — single crochet: insert hook, yarn over, pull up a loop, yarn over, pull through both loops.
- sl st — slip stitch: insert hook, yarn over, pull through both the stitch and the loop on your hook.
- st(s) — stitch(es).
- tch — turning chain: the chain made at the start of a row before turning.
Gauge
16 single crochet stitches and 16 rows = 4 inches. Work a small swatch in single crochet and measure it; if you have more stitches than 16 in 4 inches, go up a hook size, and if you have fewer, go down.
Tips Before You Start
- Keep your single crochet tension even and slightly firm so the pocket holds its shape and the card doesn't slip out.
- Count your stitches at the end of every row — the body and flap should stay at 15 stitches throughout.
- When working the edging "evenly," space your stitches so they lie flat without puckering; aim for roughly one stitch per row along the sides.
- Leave a 6-inch tail on the bow so you have plenty of yarn to attach it securely.
Step-by-Step Instructions
Body (Pink)
Row 1: Ch 16, sc in 2nd ch from hook and each ch across (15 sts).
Rows 2–20: Ch 1, turn, sc in each st across (15 sts).
Fasten off.
Flap (Pink)
Row 1: Join pink to top edge of body, work 15 sc evenly across (15 sts).
Rows 2–6: Ch 1, turn, sc in each st across (15 sts).
Do not fasten off.
Edging (Blue)
Rnd 1: Change to baby blue, ch 1, turn, sc in each st across top of flap, then sc evenly down side of flap, across bottom of flap, and up other side of flap, then sc evenly around entire body edge, join with sl st to first sc. Fasten off.
Bow (Blue)
Row 1: Ch 6, sl st in 2nd ch from hook, sl st in next ch, ch 4, sl st in same ch as last sl st (first loop made), ch 4, sl st in same ch (second loop made), sl st in next ch, ch 4, sl st in same ch (third loop made), ch 4, sl st in same ch (fourth loop made), sl st in next ch, sl st in last ch. Fasten off leaving a long tail.
Assembly and Finishing
Fold the body up 3 inches from the bottom to form the pocket, leaving the open top slot for the gift card. Using the pink yarn and tapestry needle, whipstitch the two sides of the pocket closed. Use the bow's long tail to stitch the bow to the center front of the flap, securing each loop so it sits flat. Weave in all remaining ends on the wrong side. Lightly steam or mist block the holder, shaping the flap and pocket flat, and let it dry completely before inserting a card.
Pro Tips and Variations
- Swap the colors for a holiday look — deep red body with white edging and bow for Christmas, or lavender and cream for spring.
- Add a small button and a chain loop to the flap for a closure that keeps the card extra secure.
- Make a matching set in different colorways and tuck a handwritten note inside each envelope for a thoughtful handmade gift.