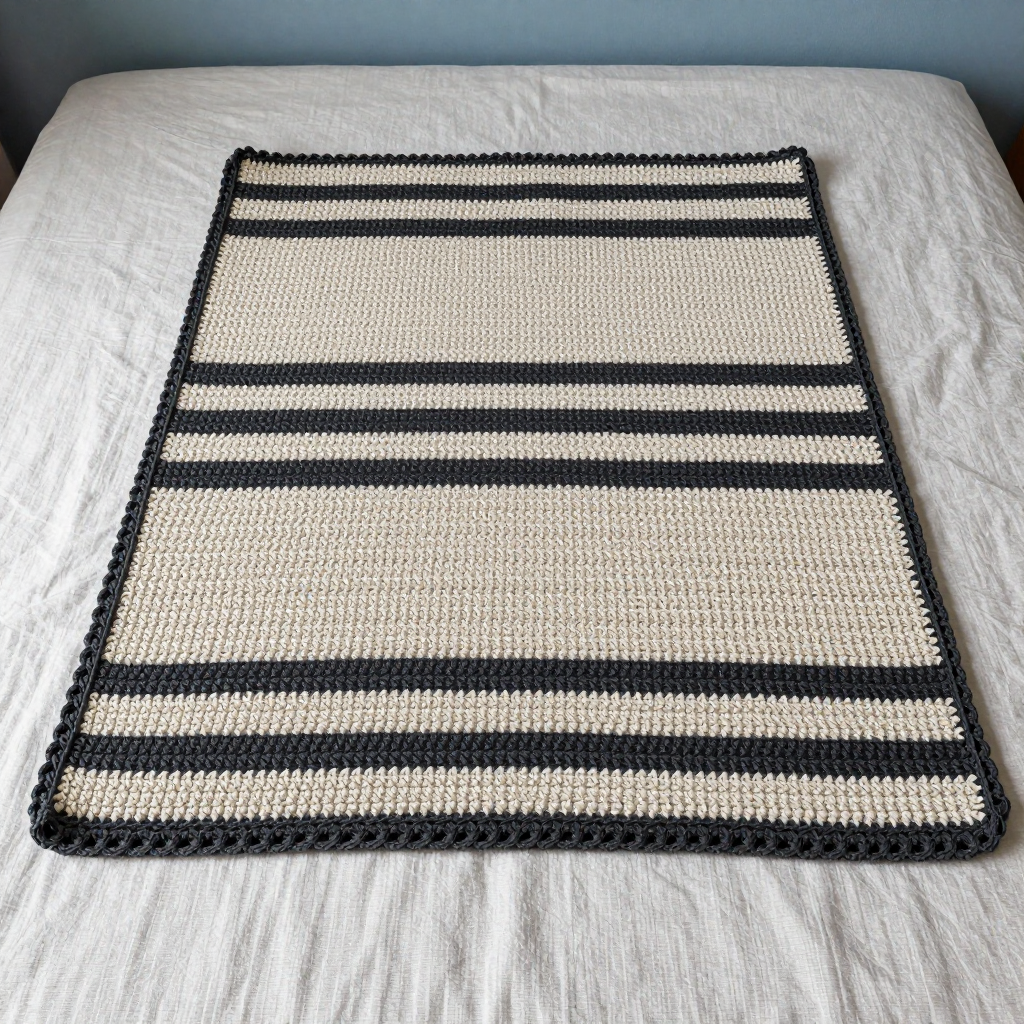
Plush Basketweave Console Pad Free Crochet Pattern

Introduction
This plush basketweave console pad is the perfect little project for anyone who wants to add a touch of retro 90s style and everyday comfort to their car. Worked in super bulky chenille yarn, it feels soft and squishy under your hand while the raised basketweave texture gives it that classic woven look. The cherry red and pink color bands make it pop without being fussy, and it's a great beginner-friendly project because it's just one flat rectangle with a simple border. Whether you're new to post stitches or just want a quick, satisfying make, this pad comes together fast and looks like a little piece of handmade luxury on your center console.
Materials Needed
- Yarn: Super bulky (weight 6) chenille yarn, 100% polyester — 60 yd cherry red (A) and 40 yd pink (B)
- Hook: 8.0 mm (US L-11)
- Notions: Tapestry needle for weaving in ends, scissors, stitch marker (optional)
- Finished size: Approx. 8 inches (20 cm) wide x 6 inches (15 cm) tall
Abbreviations
- ch — chain
- dc — double crochet
- FPdc — front post double crochet: work a double crochet around the post of the stitch below, bringing your hook from front to back to front
- BPdc — back post double crochet: work a double crochet around the post of the stitch below, bringing your hook from back to front to back
- sc — single crochet
- sl st — slip stitch
- st(s) — stitch(es)
- rep — repeat
Gauge
8 sts and 8 rows = 4 inches (10 cm) in basketweave pattern. To check, crochet a small swatch in the pattern and measure a 4-inch section; adjust your hook size if needed to match.
Tips Before You Start
- Chenille yarn can shed and is slippery, so keep your tension relaxed and avoid pulling too tight on the post stitches.
- Count your stitches after every row — the post stitches can hide the edge stitches, making it easy to lose one.
- Change colors at the end of the last stitch of a row, leaving a short tail to weave in later.
- Work the border evenly and don't skip the 3 sc in each corner — this keeps the pad from curling.
Step-by-Step Instructions
Pad
Row 1: With A, ch 18. Dc in 4th ch from hook and in each ch across (16 dc).
Row 2: Ch 3 (counts as first dc), turn, FPdc around next 3 sts, BPdc around next 4 sts, FPdc around next 4 sts, BPdc around next 4 sts, dc in last st (16 sts).
Row 3: Ch 3, turn, BPdc around next 3 sts, FPdc around next 4 sts, BPdc around next 4 sts, FPdc around next 4 sts, dc in last st (16 sts).
Rows 4-5: Rep Rows 2-3 (16 sts).
Rows 6-7: Change to B. Rep Rows 2-3 (16 sts).
Rows 8-9: Change to A. Rep Rows 2-3 (16 sts).
Rows 10-11: Change to B. Rep Rows 2-3 (16 sts).
Rows 12-13: Change to A. Rep Rows 2-3 (16 sts). Do not fasten off.
Border
Border round: Ch 1, turn, sc evenly around entire piece, working 3 sc in each corner; join with sl st to first sc. Fasten off.
Assembly and Finishing
This pad is worked as one flat piece, so there is no seaming required. Weave in all yarn ends securely on the wrong side, using the tapestry needle and taking care not to pull the chenille too tight. Block lightly by misting with water and patting flat, then let it dry completely before placing it on your console.
Pro Tips and Variations
- Try a non-slip backing by cutting a piece of shelf liner to size and stitching it to the wrong side.
- Swap the color bands for a solid color or a gradient for a different look.
- Add a second border round in sc for a slightly wider, more finished edge.